
Knowing how to roof a house with asphalt shingles is a must.
Asphalt shingles are the most popular type of shingles used on homes in America and it isn’t without reason. They are cost effective and do the job well of protecting your home from the elements.
A lot of homeowners would rather put in the time and labor themselves to roof their house, and we want to help you get started. Follow these steps to learn how to roof a house with asphalt shingles and improve your home today!
Step 1: Measure and Estimate
Knowing what you need to buy and how much is essential prior to starting any roofing project.
Calculate the surface area of your roof and the area that you will need to cover in shingles and underlayment. Always factor in an extra 10% when purchasing supplies to be prepared and leave yourself room for error.
How much space do asphalt shingles cover?
Three bundles of standard asphalt shingles will cover one “square” (100 sq.ft.) of your roof. It takes one bundle of standard underlayment to cover four of these “squares.
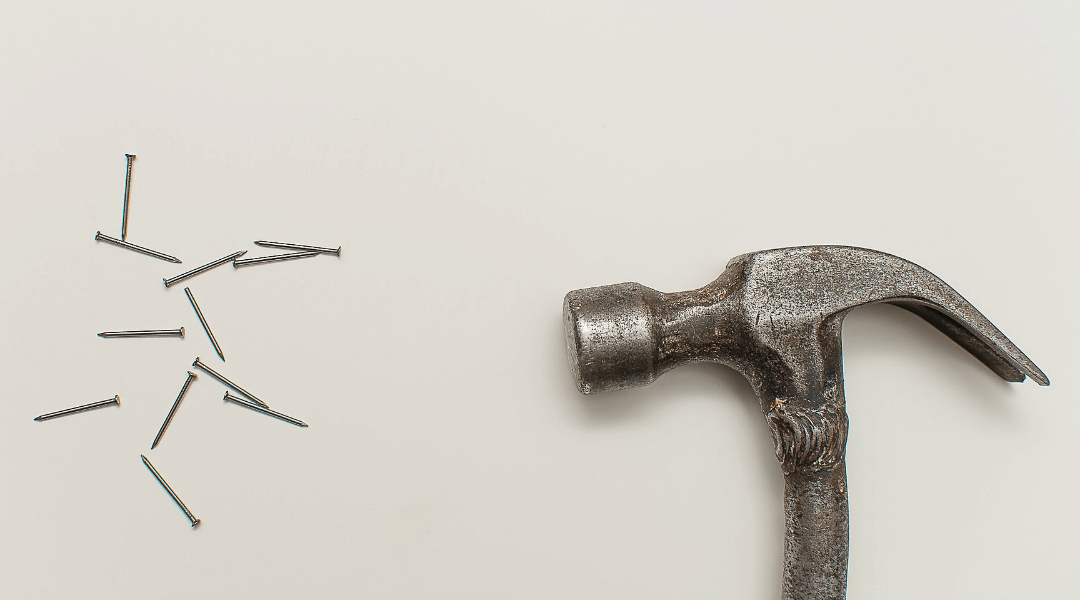
Always get 1-inch or 1.24-inch galvanized roofing nails for normal asphalt roofing. On average, you should use four nails per shingle (more if in a windy area). This comes out to 320 nails per square foot.
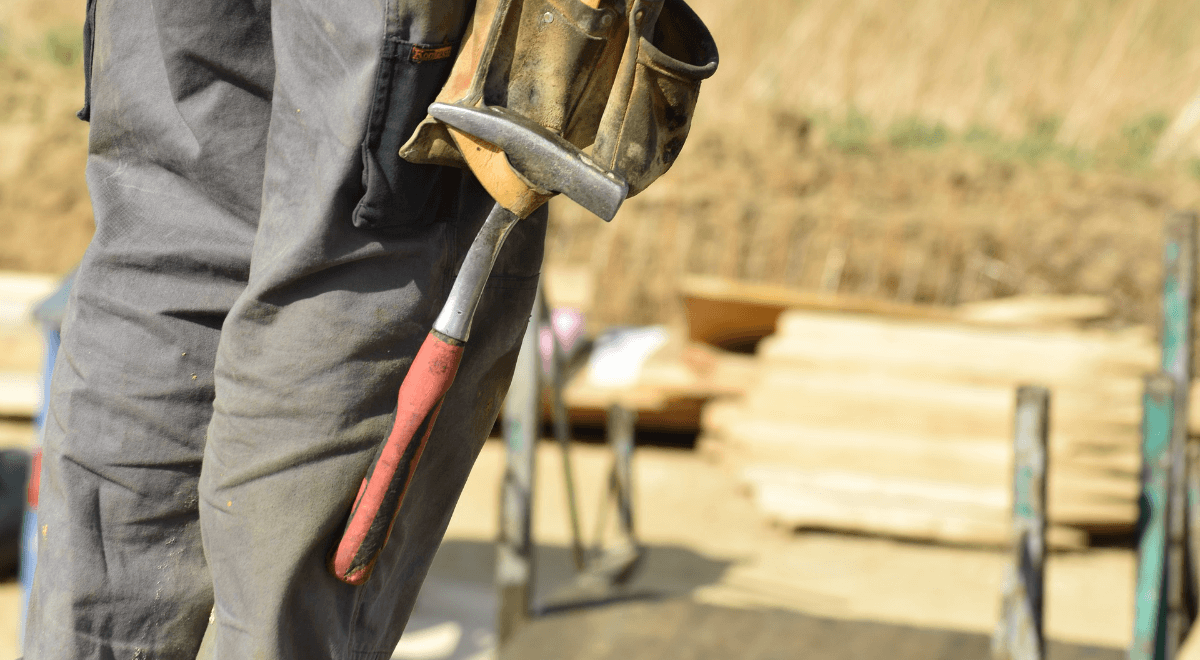
Investing in a nail gun or borrow one from a friend to expedite the process when nailing down shingles.
Check out this guide to roofing materials to get a more detailed list of all the tools and materials you need to get started.

Step 2: Fix Structural Damages
Prep the area by making repairs to frame or damaged areas. Do you have roof damage? Leakage? Repair those trouble spots first with wood or other materials prior to anything else.
Don’t apply new shingles on top of a damaged roof. Take the time and effort to do the job right and your hard work will pay off.
If you are ordering your shingles you can sometimes have them delivered straight onto your roof and skip the strain and risk of transporting them up a ladder yourself.
Step 3: Drip Edges & Underlayment
Which comes first, the drip edges or the felt?
Often the drip edges are cut and installed over the eaves first, the underlayment is placed to overlap the border, and then the rest of the drip edges are placed on the gable sides of the roof.
Some roofers will install the underlayment or sheathing as they go rather than covering the entire surface area of the roof at once. If you install it all at once, you can use the edges of the tar paper or felt as a guide when placing shingles instead of taking the time to snap a chalk line.
Get a lot of snow in the winter?
If you live in an area with heavy winters and lots of snow, installing an ice-water barrier along with the drip edges would be very wise.
Make sure your underlayment is up to code as well as the right fit for your roof. A common type requires is the 30-pound felt and can usually be attached with staples or you can use your one-inch roofing nails or even specialty nails with plastic washers.
Don’t leave your underlayment exposed to the elements overnight or in rainy weather. Cover with tarps to preserve it until you are ready to apply the top shingle layer.
Step 4: Flashing
Flashing comes in this metal sheets and should be applied to corners or wherever one section of your roof joins another to create a “valley.” This usually will occur near vents, chimneys, and other objects protruding from your roof.
You can get flat or prebent flashing depending on your needs and what areas need to be covered. Tin snips and other such cutters can be used to make pieces of flashing to the size you need for your roof. Overlap pieces of flashing when installing to help keep out water.
To install flashing, first, make a base over the area with a sealant, place the piece of metal flashing, then cover edges with caulk.
Step 5: Shingles
Shingles a roof is pretty straightforward: just line up each section of shingles one after the other, and securing them with nails as you go. Some professionals snap a chalk line across the roof to ensure that their rows are straight and parallel.
Start at the bottom of the roof and work your way upward one straight row at a time. When started the first row, use a tape measure to ensure that the shingles will extend half an inch off the roof and hang over the drip edge.
Use a utility knife to cut shingles as needed to properly fit edges and corners.
Wear gloves. No one wants the asphalt and other synthetic particles taking up residence in your pores.
How much do shingles cost?
On average, the most common types of asphalt shingles will cost $80-$100 per square, though prices can fluctuate depending on where you live.
Step 6: Ridge Cap and Other Repairs
Place and secure ridge cap pieces along the top ridge or ridges of your roof, wherever two sides of your roof come to a point. Making your own can be tricky and you don’t want to jeopardize your new roof, so know what you’re doing if you decided to create a ridge cap out of regular shingles.
Once this is done, it’s time for other final touch-ups and repairs. Fix ventilation, clean or repair gutters, and replace storm drains to get your roof functioning and in tip-top shape.
Ready to get started?
Keep these steps in mind when working on a roofing project. Always remember to be smart and safe when attempting this yourself and don’t be afraid to hire or consult a professional for help. Contact David Barbale for any questions or assistance with your home improvement needs.